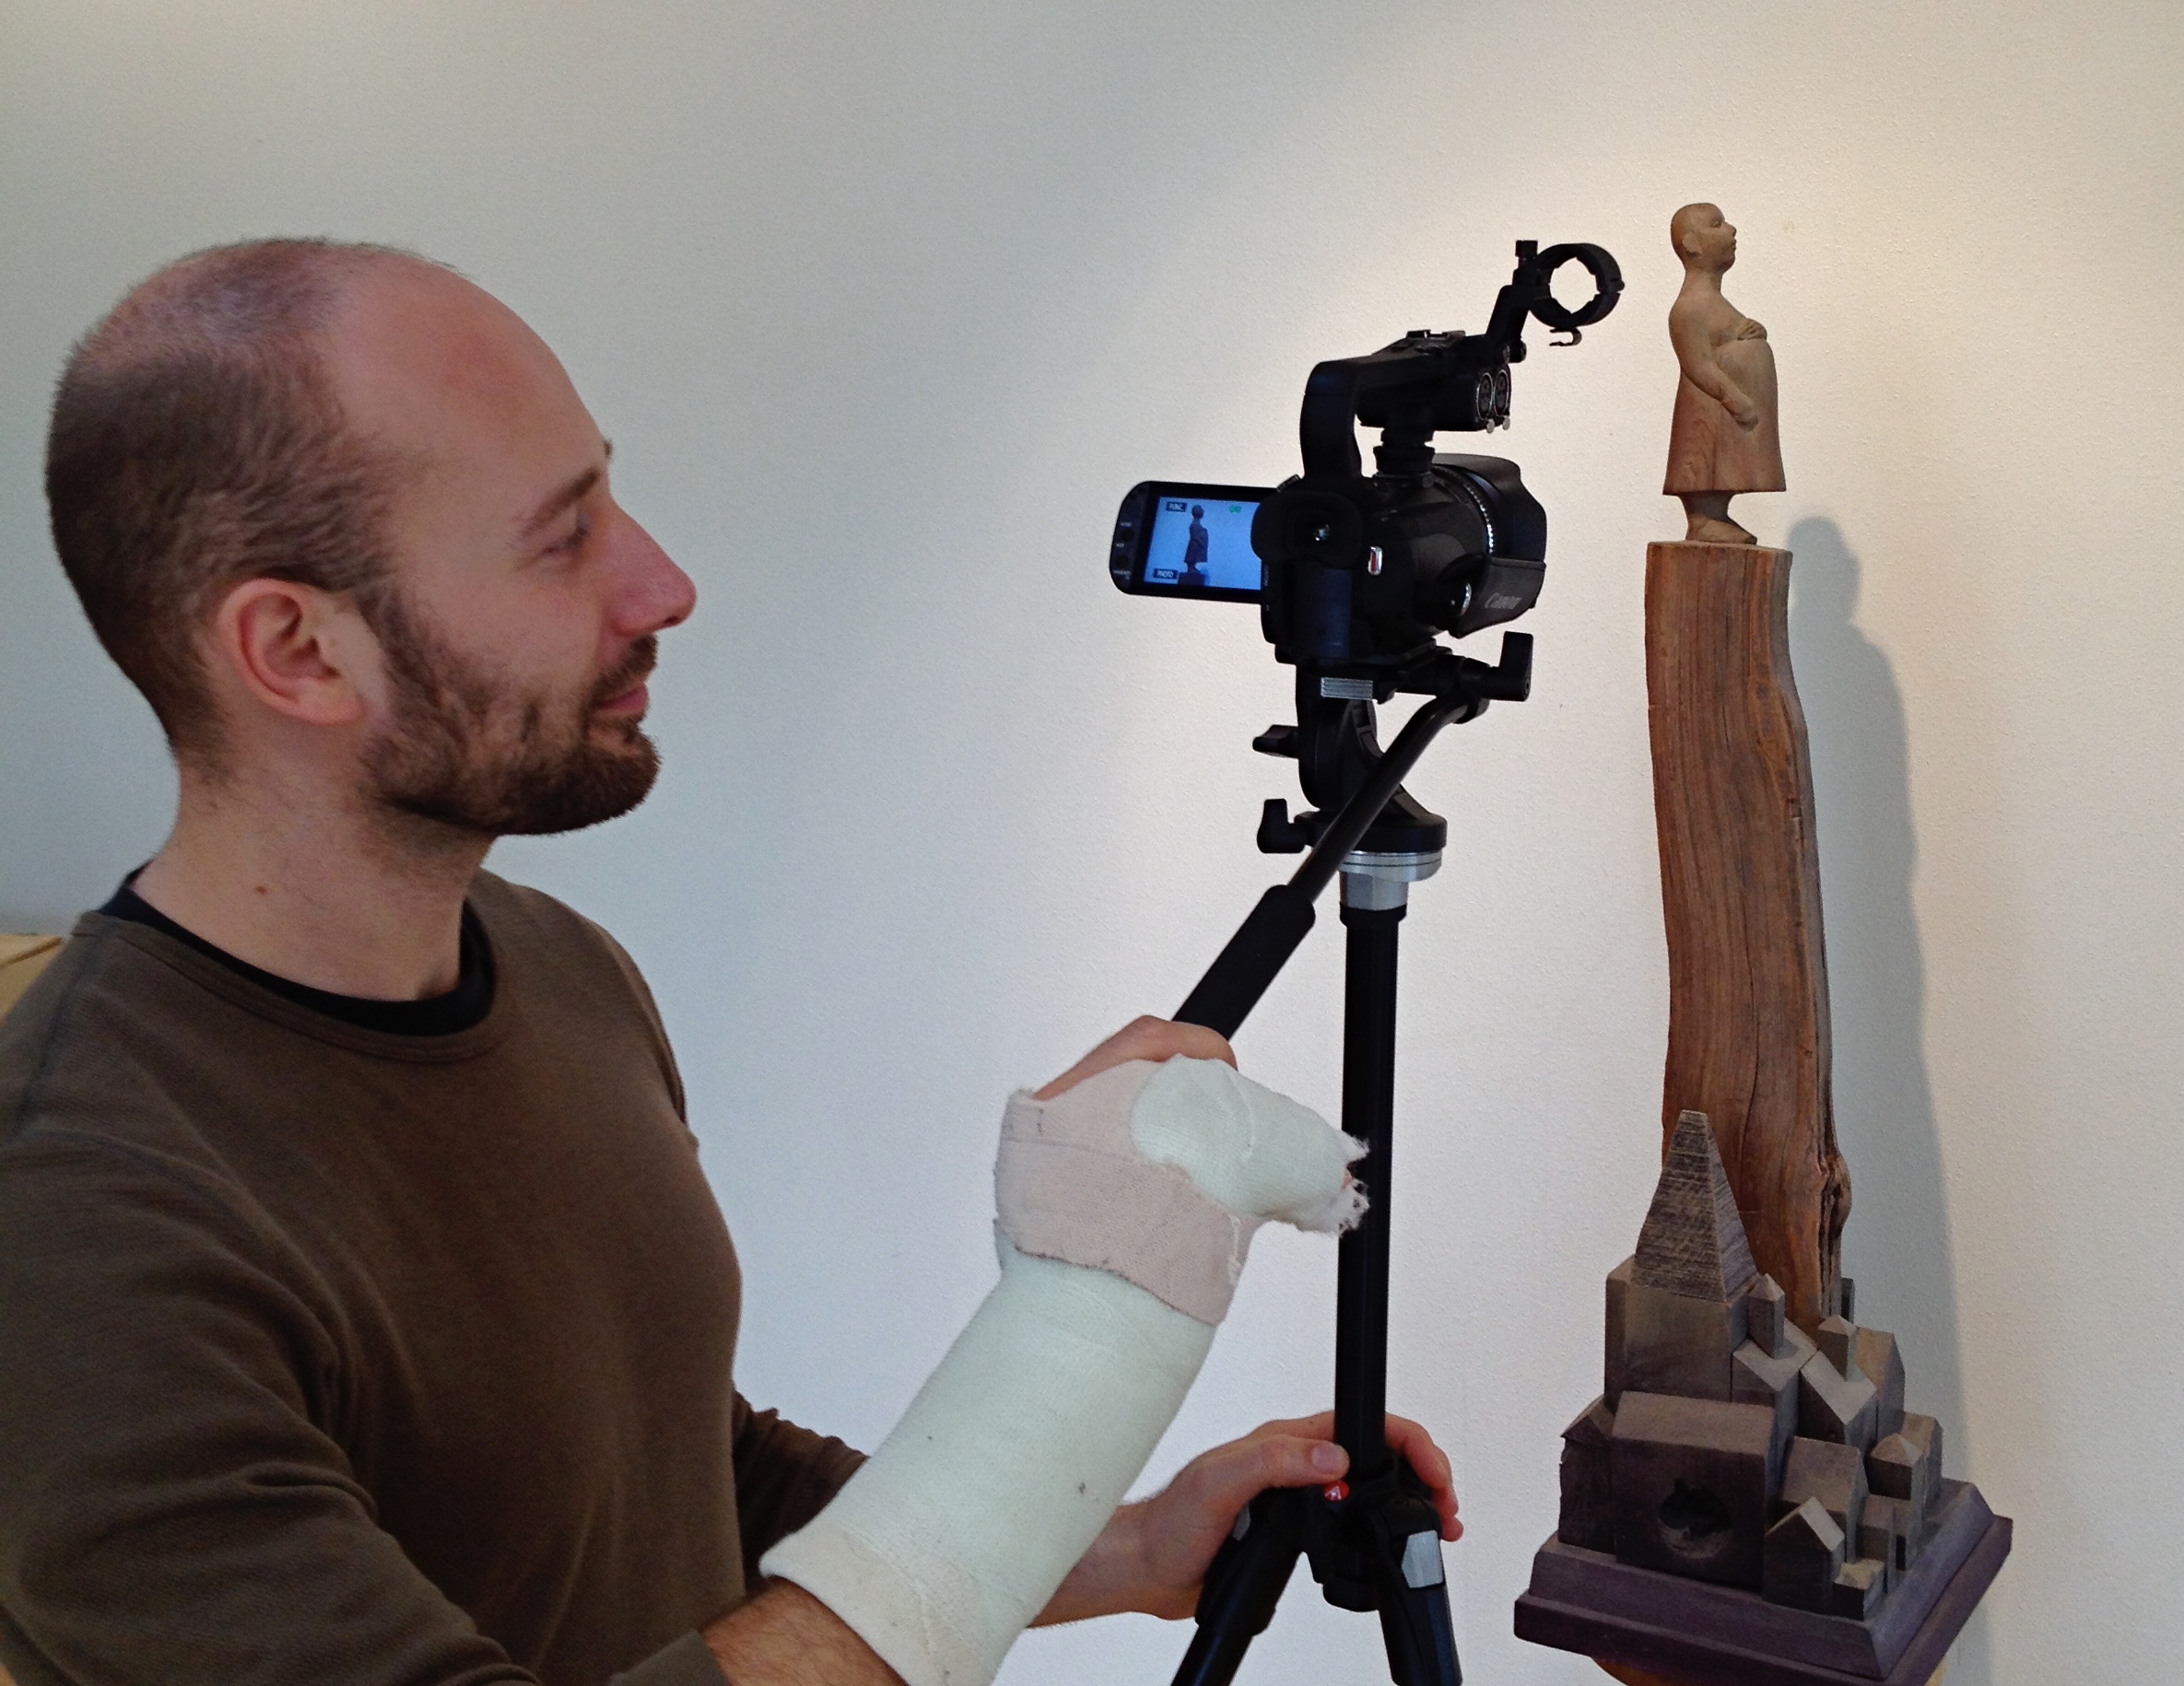
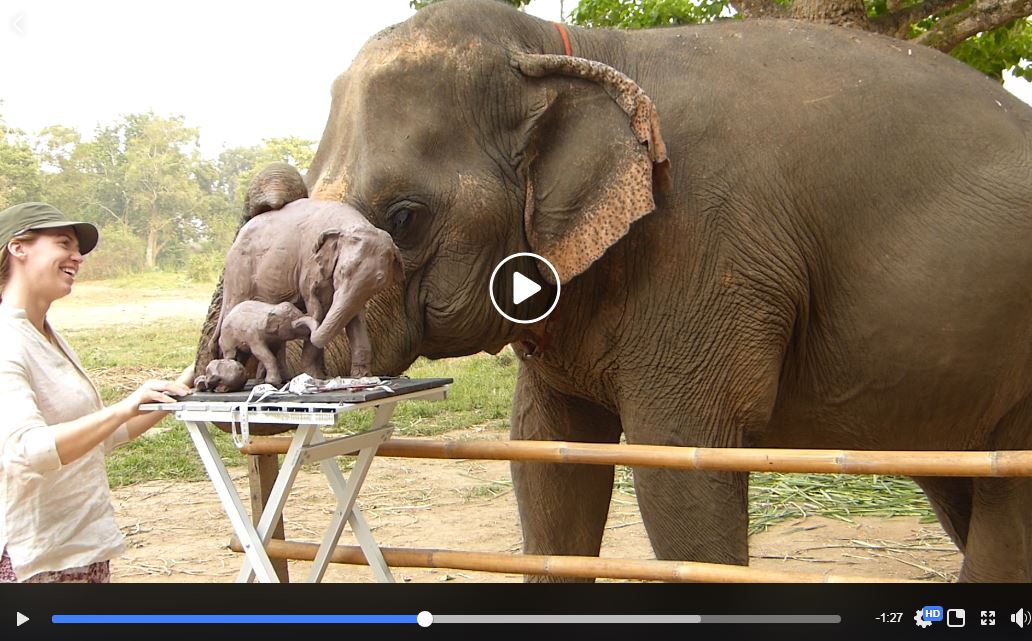
A video of your sculpture is a tremendous way to introduce your sculpture to the world. There’s a very real chance that more people will see your art via video and the internet than will ever see it in real life.
While working on a public art commission for TriMet, I had both the opportunity and budget to create my first sculpture video on the inspiration, creation, and installation of To Grandmother’s House. I hired a talented young videographer, Eric Nordstrom of PPAV. He came to my studio, filmed for a bit, and later sent me a rough draft.
It was a cold wake up to realize that I couldn’t use any of it.
I called Eric and postponed our next meeting. There’s a lot that goes into creating even a very short video. Be prepared so you don’t waste time, (yours and your videographer’s) and money, (yours!) It took me two weeks to write down everything the video needed and how to get it done. Here’s what I came up with:
How To Plan Your Video Shoot:
Firstly, write the script. What story are you telling? Where does it begin, what does it say, and how does it end?
Second, storyboard the shots: I used 3 x 5-inch cards with quick drawings of how I wanted the art seen. You are the expert on your art and want to share its best aspects with your audience. I taped the cards end to end so I had a fold-out book for quick reference. It’s easy to get flustered or lose track of goals when the camera is rolling.
Be a location scout: Nothing is more distracting than distracting backgrounds. It’s a good reason to clean your studio or at least your workbench. It can be as simple as finding a blank wall or green hedge outside. Is it quiet enough to have a good recording sound? If not, you’ll need to plan and record a voice-over. For maquettes and small sculpture consider shooting them against the sky or distant background.
Control the lighting: Lighting is critical. While working on my video, we discovered how powerful it is to just move your light source. It gave a powerful sense of movement and revealed new details. You don’t need fancy lights (they help) but you do need to know what your lights can and can’t do. If they’re LED, are they warm enough so the video and your art isn’t that cold blue? A simple turntable can show the work well.
The camera sees differently than human eyes. If you’re showing bronzes, avoid glaring high lights. A little wax can dull that shine and easily buff off later.
Direct: tell my videographer what needs to be accomplished, go over the storyboard with him or her, listen for suggestions s/he has for improvements.
Help edit the final version. I don’t have time to learn another skill which is why I hired a professional videographer. Filming is one skill, editing is another. Eric presented me with a rough cut version that we jointly edited to get the best story.
Last but not least, You get to be the artist. Did you forget to write down what you want to say? Go back to step one. Write it and then rehearse speaking it out loud. It’s not hard but it does take practice. Like any story, it gets better with the telling and is a skill you can use whenever you talk about your art. People want to hear what you have to say about your art. They just don’t want to wait around while you struggle to find words….
Congratulate Yourself! You Created A Video Of Your Sculpture
It can be disappointing to see yourself and even more to hear yourself speaking. What helped me was remembering “It’s not about me. It’s about my art.” Relax, give it your best, AND shoot it several times. Editing can select the best version, even splicing different takes together.
Now that you have a video, let the world know or your website, blog, and social media.
To learn more about Patrick’s work or Pacific Northwest Sculptors, contact us today!


Leave a Reply
You must be logged in to post a comment.